Theory
The goal of using groups is to make you more effective and efficient by doing several tasks with one action. It it not necessary to be working with a physical group to benefit from this feature. This can simply be used as a tool to manage your clients more efficiently.
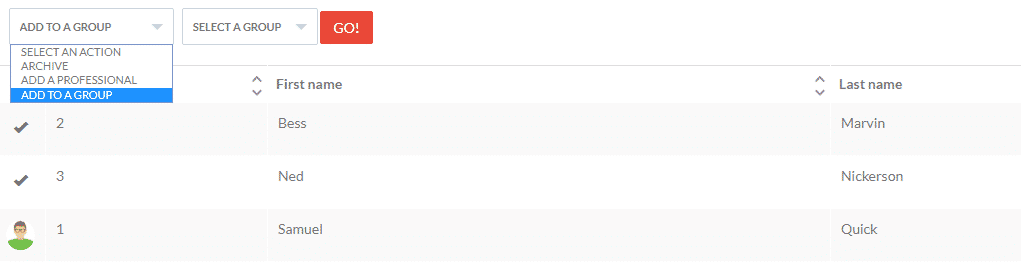
Groups can be created through the “Administration” tab under “Manage groups”, or by clicking “+ create” button in the “Groups” tab. Members can be added to a group in two ways. The first being individually through the “Members” section, the second being through the “Clients” tab. In the “Clients” tab, you can select multiple clients at the same time to be added to a group in one action.
Since everything on Hexfit is interconnected, in a group you have almost all of the same functions as in an individual client’s file. The difference is, an action done in the group will be done as an action in each one of the individual group members’ files. Meaning you can do several tasks with one action. For example, if you share a document (or add a program, add an activity, create an objective, etc.) in a group, the document will be shared in each of the individual client’s files.
Groups have the same concept of interprofessional collaboration as in a client’s file. Multiple professionals can work with, share information, and manage a group at the same time. Actors in a group have the possibility to manage the group, however, they do not have access to the individual group members’ files.
Hexfit always has the top priority of confidentiality. This is why, group members are not aware they are in a group, nor do they see any information of the other group members. The only way for them to know they are in a group is if an Actor begins a groups message. All group members then have the opportunity to reply and see the replies of the others, thereby seeing who else in the group.